
A dead printer is a great possibility to gain useful components. You can scoop many kind of parts, like DC motors (stepper motors if you’re lucky), wires, gears, etc.. And of course a power supply unit. The power supply can be useful in many ways, for example as a lab power supply. But without a case it is a bit dangerous, as you can accidentally touch something, which would be painful. Warning! Don’t try this at home, unless you’re perfectly know what are you doing, and have practice handling with 220 Volts.
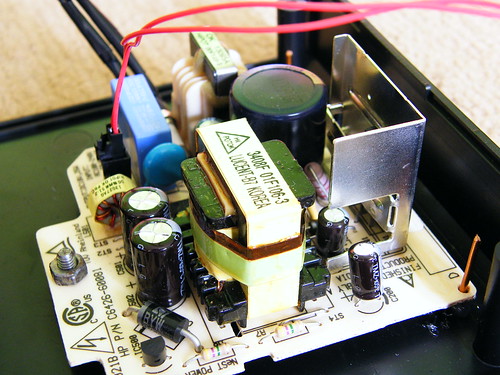
Now, if you dare, run up to attic, and bring down the dead printer, clean the dust and grab a screwdriver. After tearing down the device to the smallest parts possible without breaking anything, you should see a component like this:
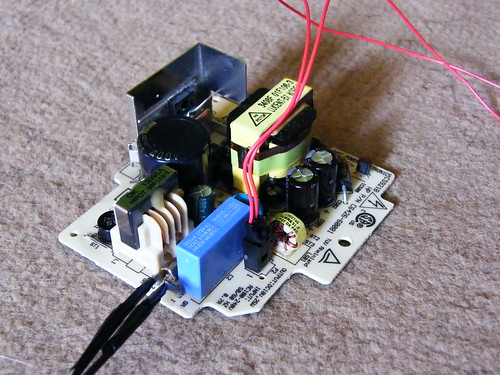
It’s rather simple: it has an input, AC 220 Volts in Europe usually connected with thick wires. The output varies by brand and type but it’s surely DC, low voltage connected with thin wires. Look for the numbers printed on the board, they usually tell the output voltage and maximum power. In this case, it’s 18 Volts and 25 Watts. This is more than enough for experimental purposes.
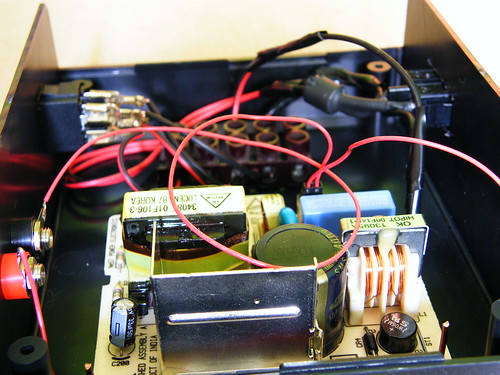
Before you continue, check it out carefully. The printer is not working because of a cause, and maybe that cause is the power supply itself. The easiest way to check is to connect a multimeter to the output and plug it in. Be very careful with this step, try to not touch the device while it is under power.
If the power supply is not working, try to check out the fuse. If it’s burnt, you should replace it and try again. If it solves the problem, then maybe it was the cause that rendered the printer dead. At this point you can just put the printer together, and live on. And of course make merit of fixing a dead printer. Both cases, continue reading, the lab supply is far from finished yet.
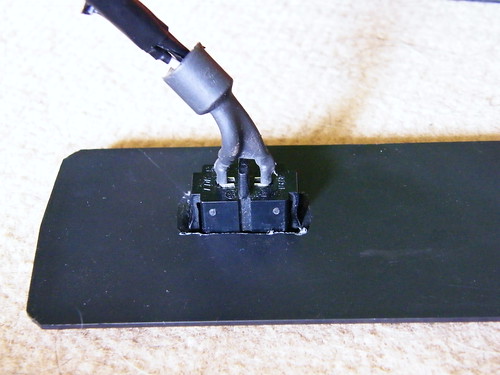
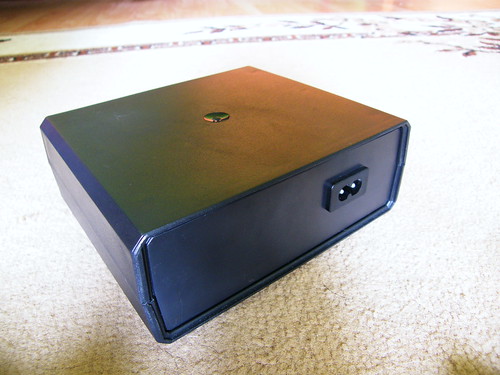
To make it safe and easy to use, it should be inserted in a case. You can buy one in any electronics shop. I’ve used a plastic one as it’s easier to use, but many thinks that a metal box looks better. If you use a metal box, more work is needed as you should take care of grounding the box itself, and insulation of the power supply board. A printer is usually not grounded, so the power cable of the printer won’t be adequate. I’ve reused the AC connector of the printer, it can be clipped easily into a matching hole, which was easy to cut into the back board of the box using a drill and a rasper:
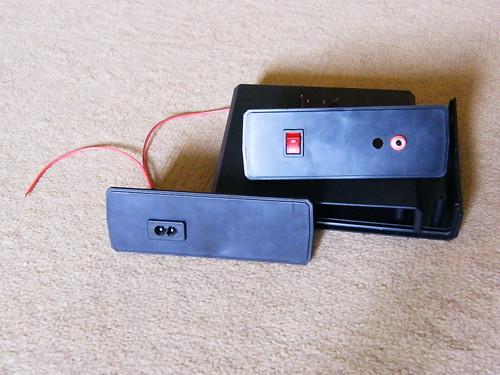
I’ve used similar method on the front board, which contains two banana connectors for the output, and a switch which enables to turn off the device without unplugging it:
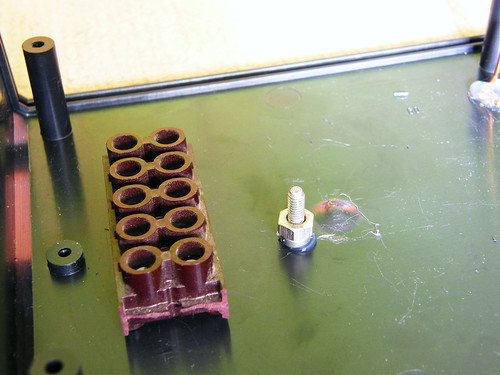
Soldering is hard in small places, and the hot iron can damage the plastic box badly. So instead of soldering the wires together in the box, I recommend using a terminal block as I did. The block can be fixed to the box using a glue gun. I’ve also used glue gun to mount a screw and two copper wires into the hold the power supply board in place:
The hard work is done, all is left is to put the whole thing together. Doing some wiring work:
And then voilá, it’s finished:

Have fun doing your own lab power supply! More pictures here:http://www.flickr.com/photos/gbalage/sets/72157624262231051/